Tuesday, December 17, 2013

Peace Card

For those of you that frequent here often you know I'm all about the boingin' colors.  Each of my projects are usually bursting with color combos galore so when I saw the 12th Day of Christmas Challenge at Turtle Soup to create an all white card I thought to myself ruh-roh!  Funny how the brain works though because out of all the challenges I chose to take this one!


I set myself in motion by gathering a plethora of white supplies: cardstock, vellum, paste, glitter, sequins, doilies, cheesecloth, and some sprigs with sequins already attached.  Then I grabbed some other materials: dies, stencils, punches, and embossing folders that I thought perhaps might work to pull together a wintery scene fitting for an all white theme.  Once those things were all out my mind was able to function as I played with the bits - punching this, adding paste to that, die-cutting out shapes (numerous times I might add LOL).


When all my pieces were cut, punch, and dried I began to play with the arrangement and the above Peace card was my final result.  The background was stenciled with modeling paste sprinkled with glitter.  Over that is some embossed vellum, then cheesecloth, and finally I piled on my layers of dies and embellies.

 I posted this photo on Instagram (@kndr2tch) and shared I think I have a new favorite style of Christmas card - its so very different from what I would normally gravitate toward creating and I think that is why I love it so much.  I'll also be honest in sharing I think this one is staying right here with me and going in my December album - I can create some more to give away - this one is special. 

So happy I can share this card for a couple challenges out there right now too!


Thanks for stopping by today, hope you're having a delightful one!


Friday, December 13, 2013

Joy Tags - Tutorial

Its hard to believe we're already on major countdown to Christmas!!  I so love this time of year and have been delighting in less hustle, bustle and more peace, comfort, and joy.  Part of the fun for me is taking time to create some beautiful things to adorn presents.  


Tags are such a quick and easy way to do this and with the right string attached who knows they may just wind up on someones tree as a keepsake.  

Here is how you can recreate these cute little Joy tags to deck out your packages in style:

Step One: Cut watercolor paper down to tag size of choice (3x3 shown).  Ink up stamp (ScrapFX Moroccan Tile - 2013351) with VersaMark, sprinkle with embossing powder, and heat set.


Step Two: Spray background generously with mist.  Allow this to dry for a couple seconds then use a baby wipe to pounce away color from embossed areas.


Step Three: Layer some stenciling (ScrapFX Random Dots 2013172 used above) over the embossed background in the upper left and bottom right corners using paste.  Set this aside to dry completely. 


Step Four: Once paste is completely dry, highlight some circles using NeoColors or whatever coloring medium you have on hand.  Sprinkle some gold splats of mist across the tag.  *My apologies for not having a picture of these materials in this step.

Add some washi tape across a strip of burlap and adhere this piece diagonally across the tag.  I used fabric glue to ensure it would stick and hold up to being jostled around.


Step Five: Add some modeling paste to a Mini Christmas Tree (2007384) and set aside to dry.  Diecut some letters (or use stickers/chippies/etc.) in black and outline them with a white gel pen.  Adhere the letters 'J' and 'Y' to your washi tape strip.  Brush green mist onto dry tree and adhere to the washi tape strip in place of the letter 'O'.


Step Six: Outline tag with a black pen and add some random dash lines along the edges.


Step Seven: Cut patterned paper to 3x3 (or whatever size you have made you tag).  Stamp a to/from image onto the paper. No worries if you don't have one - just doodle it.  Sprinkle some splats of gold mist across paper.  Outline paper with a black pen and add some little dash lines along the edges.  Adhere this piece to the back of your tag.

*Note I didn't add the patterned paper prior to doing the messy work in order to keep the patterned paper clean from oozes and to cover up anything that may have leaked on back.


Step Eight: Punch a hole in the upper right corner of tag.  Add twine to create a loop and tie.  Your tag is now ready for gifting!

Here is a look at the front:


The back:


And a different angle to check out the fun texture created in some quick and easy steps:


I hope this quickie tutorial inspires you to gear up for some do-it-yourself wrapping worthy of being hung on a tree after.

Thanks for stopping by today.  Have great starts to the weekend and
Take care.


Tuesday, December 3, 2013

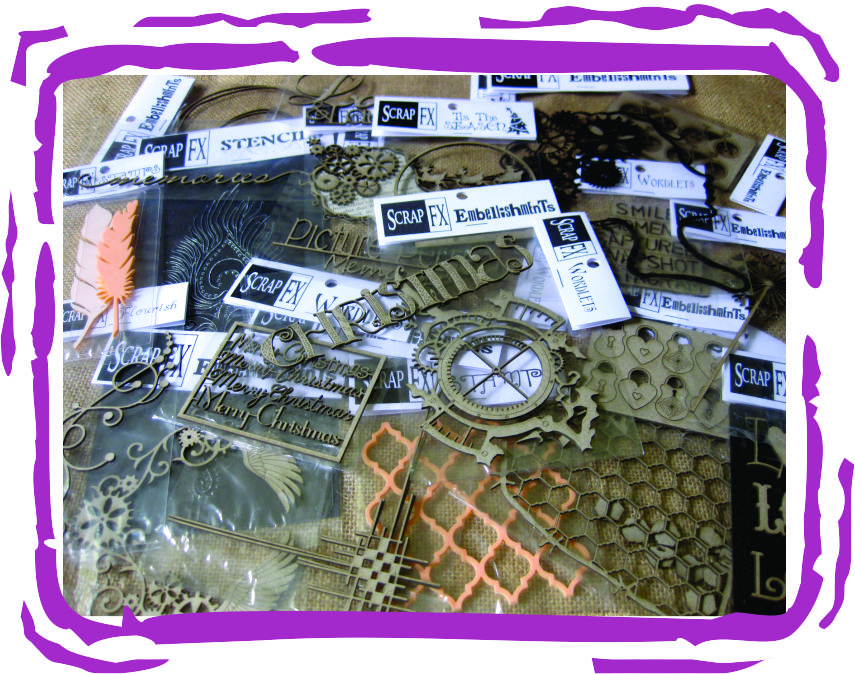
Christmas Blog Hop!! ScrapFX & Scrapbook Creations

Hi There!  If this is your first time to my blog, welcome so glad to have you and of course I'm always elated to have my friends stopping by!!  I'm very excited to be participating in this special Christmas Blog Hop with Scrapbook Creations Magazine and ScrapFX so on with the show.

Another month, another blog hop! This time Scrap FX and Scrapbook Creations have partnered up to bring you this very special chipboard Christmas celebration! But before we get onto the actual hop, let me show you this! 

scrapbook creations blog hop

What is this, you ask? THIS is the prize you could win (a pack of delicious ScrapFX goodies and a digital SC subscription), if you join in and play along. It's easy enough to be in with a chance to win-- simply comment on my post, click on the next blog in the list, comment on their blog hop post, and repeat until you've completed the entire list! (Make sure you do check out the inspiration--it's all brilliant!) (The blog hop ends next Wednesday, 11 December, at midday Australian Eastern Daylight Savings Time. For my US friends this is actually a Tuesday, December 10th end date so be aware of that.) 

Here is my inspiration for you:

Reindeer Ornaments

These little ornaments were created on mini canvas panels.  I used the ScrapFX Random Dots Stencils (2013172) to add texture to the painted background.  While the paste was wet I sprinkled it with glitter and sealed this with a fixative to ensure this sparkle will last throughout the years.  The little Reindeer (2009349) were the perfect embellishment to add on top with some glitzy antlers and bling nose for simple touches.


Here you can see the texture and detail a bit better.  This is such a quick and easy project and would look great attached to a gift.

Peace On Earth

Another 6x6 mixed media canvas using the Moroccan Tile Stencil (2013352) to build the background and featuring some of the cute mini chippies ScrapFX now offers!  The Mini Flying Wings (2013232) worked wonderfully for this Peace on Earth message using the Itty Bitty Bets - Typewriter font (2005103) letters.  The flourish with the holly (Holly Flourish - 2012257) as the backdrop added an elegant touch and was altered with paint, mist for the holly leaves with a brush, and glitter glue for the berries.

Merry Christmas Tag


This tag will be going in my December album and I adore the fun touches I was able to add by using up bits from my stash and some fun little ScrapFX Christmas pieces.  The Christmas Stars (2007387) and Mini Christmas Trees (2007384) will surely be getting a workout in my projects this season but what is truly fabulous is they really can be used all year long!  

And with that I wish you all a Happy start to the Christmas season!!  I do hope you've been inspired to get going on some fun projects of your own.  Below you will find where to head off to next!

The list: 
 Misty R 
 Scarlett S (You are Here!!!)
 Anita B 
 Geli D 
 Cindy P 
 Maria S  

Happy Hopping!

Skissedilla 230 - A Dad and His Girl

Its a new month and that means a new sketch up at Skissedilla for December.  This month the lovely Laetitia gave us a cool sketch to use, check it out:
Really rather cool and funky, right?
I wasn't quite sure what I'd do with my take at first but once I slapped some paste down through my new Circles and Squares ScrapFX stencil and had my picture it all just kind of came together through some picking over of bits my stash.  


I've been waiting to scrap this photo for a couple years now and I'm so glad its finally done.  This ScrapFX wordlet was perfect for it and adding some Amy Tangerine vellum stickers as a subtitle was a fun addition to lead in to some simple and quick journaling about the day. 

I do hope you take a quick time out from your festivities this month and join us at Skissedilla to play along with the sketch.  You could get some of those Christmas past memories scrapped while you're feeling festive or get a jump start on the present ones being captured - or like me just scrap the everyday.  Regardless I'd love to see you there!!