Happy Friday Peeps! Its been a bit since I've shared any Project Life haps here since I took a kind of hiatus from blogging over the summer. Life still happens though - funny how that works huh? I've kept on and my album and ways of doing things is ever evolving.
 |
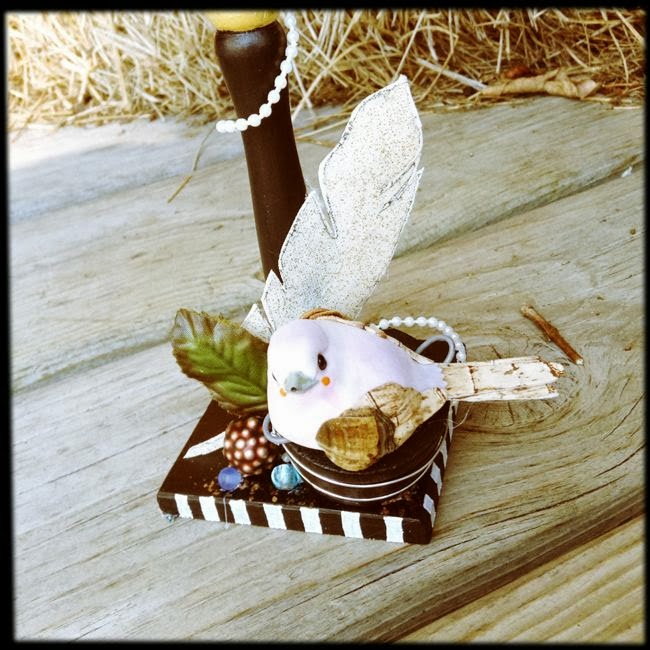
| Card created using ScrapFX Seed Stem and Field of Flowers stamps |
In this post I shared a bunch of sneaks of projects relating to my recent obsession with stamping and need for finding making time to create everyday. A lot of them were actually bits from Project Life inserts I created. You see I've found what actually makes me the happiest about Project Life is truly bringing my own art/spin to it and treating it more as an art journal of sorts.
 | |
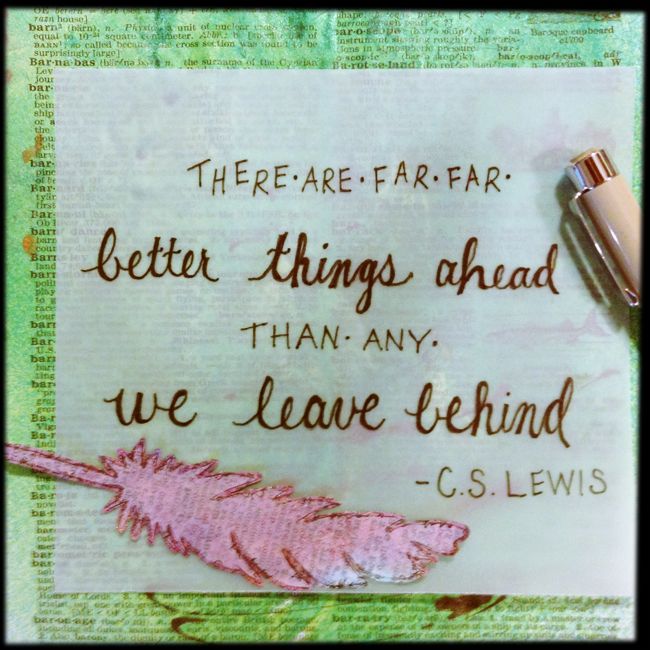
| ScrapFX Feather Stamp |
Not only do I get to have a customized look by doing this, but I find that the quotes, imagery, and colors are all more suited for what I want to express. Rather than trying to fit my family in to a kit, I'm creating a kit that fits my family and there is truly something magical about that!
 |
| Card created using ScrapFX Feather Stamp and Random Dots Stencil |
Plus there is the added bonus of artful play time! I get to take 15-20 minutes and play with goops to create some inserts I think will suit photos I know I've taken - and yes I admit not all the inserts I create are made with certain shots in mind and that is okay too. I have fun creating them and know that at some point I'm sure I'll use them - if not well at least I created art I enjoy for the day. The main thing here is I'm doing something I feel is meaningful and that is what I want my album to really express - meaning. I want the stories to be told through my pictures, journaling, and I want the 'filler' cards to be meaningful little expressions created by me too.
I'm not saying I won't ever use a store bought journal cards intended for Project Life - I have indeed purchased some - for now though they have found life on regular cards and I love the addition they add there. I'm not knocking on people who use them either because I adore a lot of various Project Lifers styles out there believe that! This is just me sharing what works for me and makes me happy.
To see some pages I actually photoed of September haps around here you can head on over to ScrapFX here where myself and fellow DT member Michelle have some pages posted.
If you're doing the Project Life thing I'd love for you to leave me a link so I can check out how you do your thing - like I said I admire and enjoy anyone takes on this task. Its a true labor of love.
Until next time, take good care!!